Lard bread
When I was in Italy, I had thinly sliced lard on toast pressed upon me…at 8 in the morning. Waving aside my protests that I don’t usually have savories first thing in the morning, much less lard, the lard maestro looked me in the eye. “It’ll go down on its own, you’ll see.” I dutifully ingested. He was right of course. The lard, from pedigree pigs, studded with rosemary and coarse salt, was not in any way greasy or porky. It was just nutty and delicious. So he made his sale and I entertained notions of regaling guests with lardo aperitifs…except the people seem around us seem to have gone on funny restrictive diets overnight. I can imagine how they would recoil with horror (“meat! fat!! gluten!!!” Is she trying to poison us!?!?”). So it’s lard bread again. The irony of using this beautiful expensive slab of lard in something that, from what I’ve read, was a poor man’s bread meant to stretch the slaughtered pig to the max, is not lost on me.
Lard bread (recipe adapted from here) (Makes one big ring loaf)
170g Leaven, 100%
480g T80 [bread flour in original]
255g Water
144g Lard diced very finely [226g cold rendered lard in original]
11g Salt
2 tsp Ground pepper [4 TBS in original]
Salami [283–340g cracklings in original]
Original recipe calls for mixing water with leaven, then rubbing lard into flour before combining all.
The first time I made this, I melted the lard and incorporated it after working the flour, leaven and water to some gluten development (and chickened out from adding all the lard at the sight of the very slippery, oily dough).
This time I played with the idea of mixing the dough, then almost laminating in very finely diced or even semi-flattened lard, like croissant dough—mind you, this is someone who has NEVER even tried her hand at laminated dough! But after an accident whereby i sent flour flying all over the kitchen, I tossed the idea of laminating anything and crossly diced the lard and threw it in with the rest.
The dough was rearing to go because my leaven was very active, but after all that lard and salami, it almost came to a halt. It was a very hard dough to judge; it hardly rose at all.
1st proof of a couple of hours, then it was popped into the fridge overnight.
The next morning, I shaped it into a ring and the second proof was about two hours, before baking with steam. Again it had hardly risen but thankfully it was not dense, as I had feared, nor greasy and disgusting. In fact, the crumb was amazingly tender—actually should I be amazed, what with all that lard… Needless to say, the kitchen smelt like bacon without the icky factor and it was near impossible to stop eating.
Bench notes to myself:
* Perhaps I should finally try it the right way the next time, with the right type of lard to be smeared in. If using hard lard again, definitely, definitely dice it as tiny as possible, so it melts into the crumb and not show up as white nubs, which much as one might like lard, is not the most appealing texture to bite into… And maybe give the pseudo-lamination idea a shot??
* I used good lard that came with some rosemary and coarse salt, and there was a difference between this and the first loaf with ordinary lard.
* I found 2 tsp of pepper quite enough for the taste of pepper to be quite sufficient. I don’t know how the original poster managed to incorporate 4 TBS! But I had also used assertive salami with a bite to it, so I would say adapt to ingredients! Aim for a lightly pepper-speckled dough? But incorporating some coarsely ground pepper would be a good idea too.
* I wanted to finish up the salami and didn’t measure the qty but don’t stint on it!
* A bit of herbs like rosemary was quite nice, but there shouldn’t be too many competing flavors.
* Even at room temp, this was irresistible but when warm out of the heaven with the crackly crust contrasting with the tender crumb… i chuckled at my newly ‘abstinent’ friends not only reaching out for it, but even spreading butter on it!

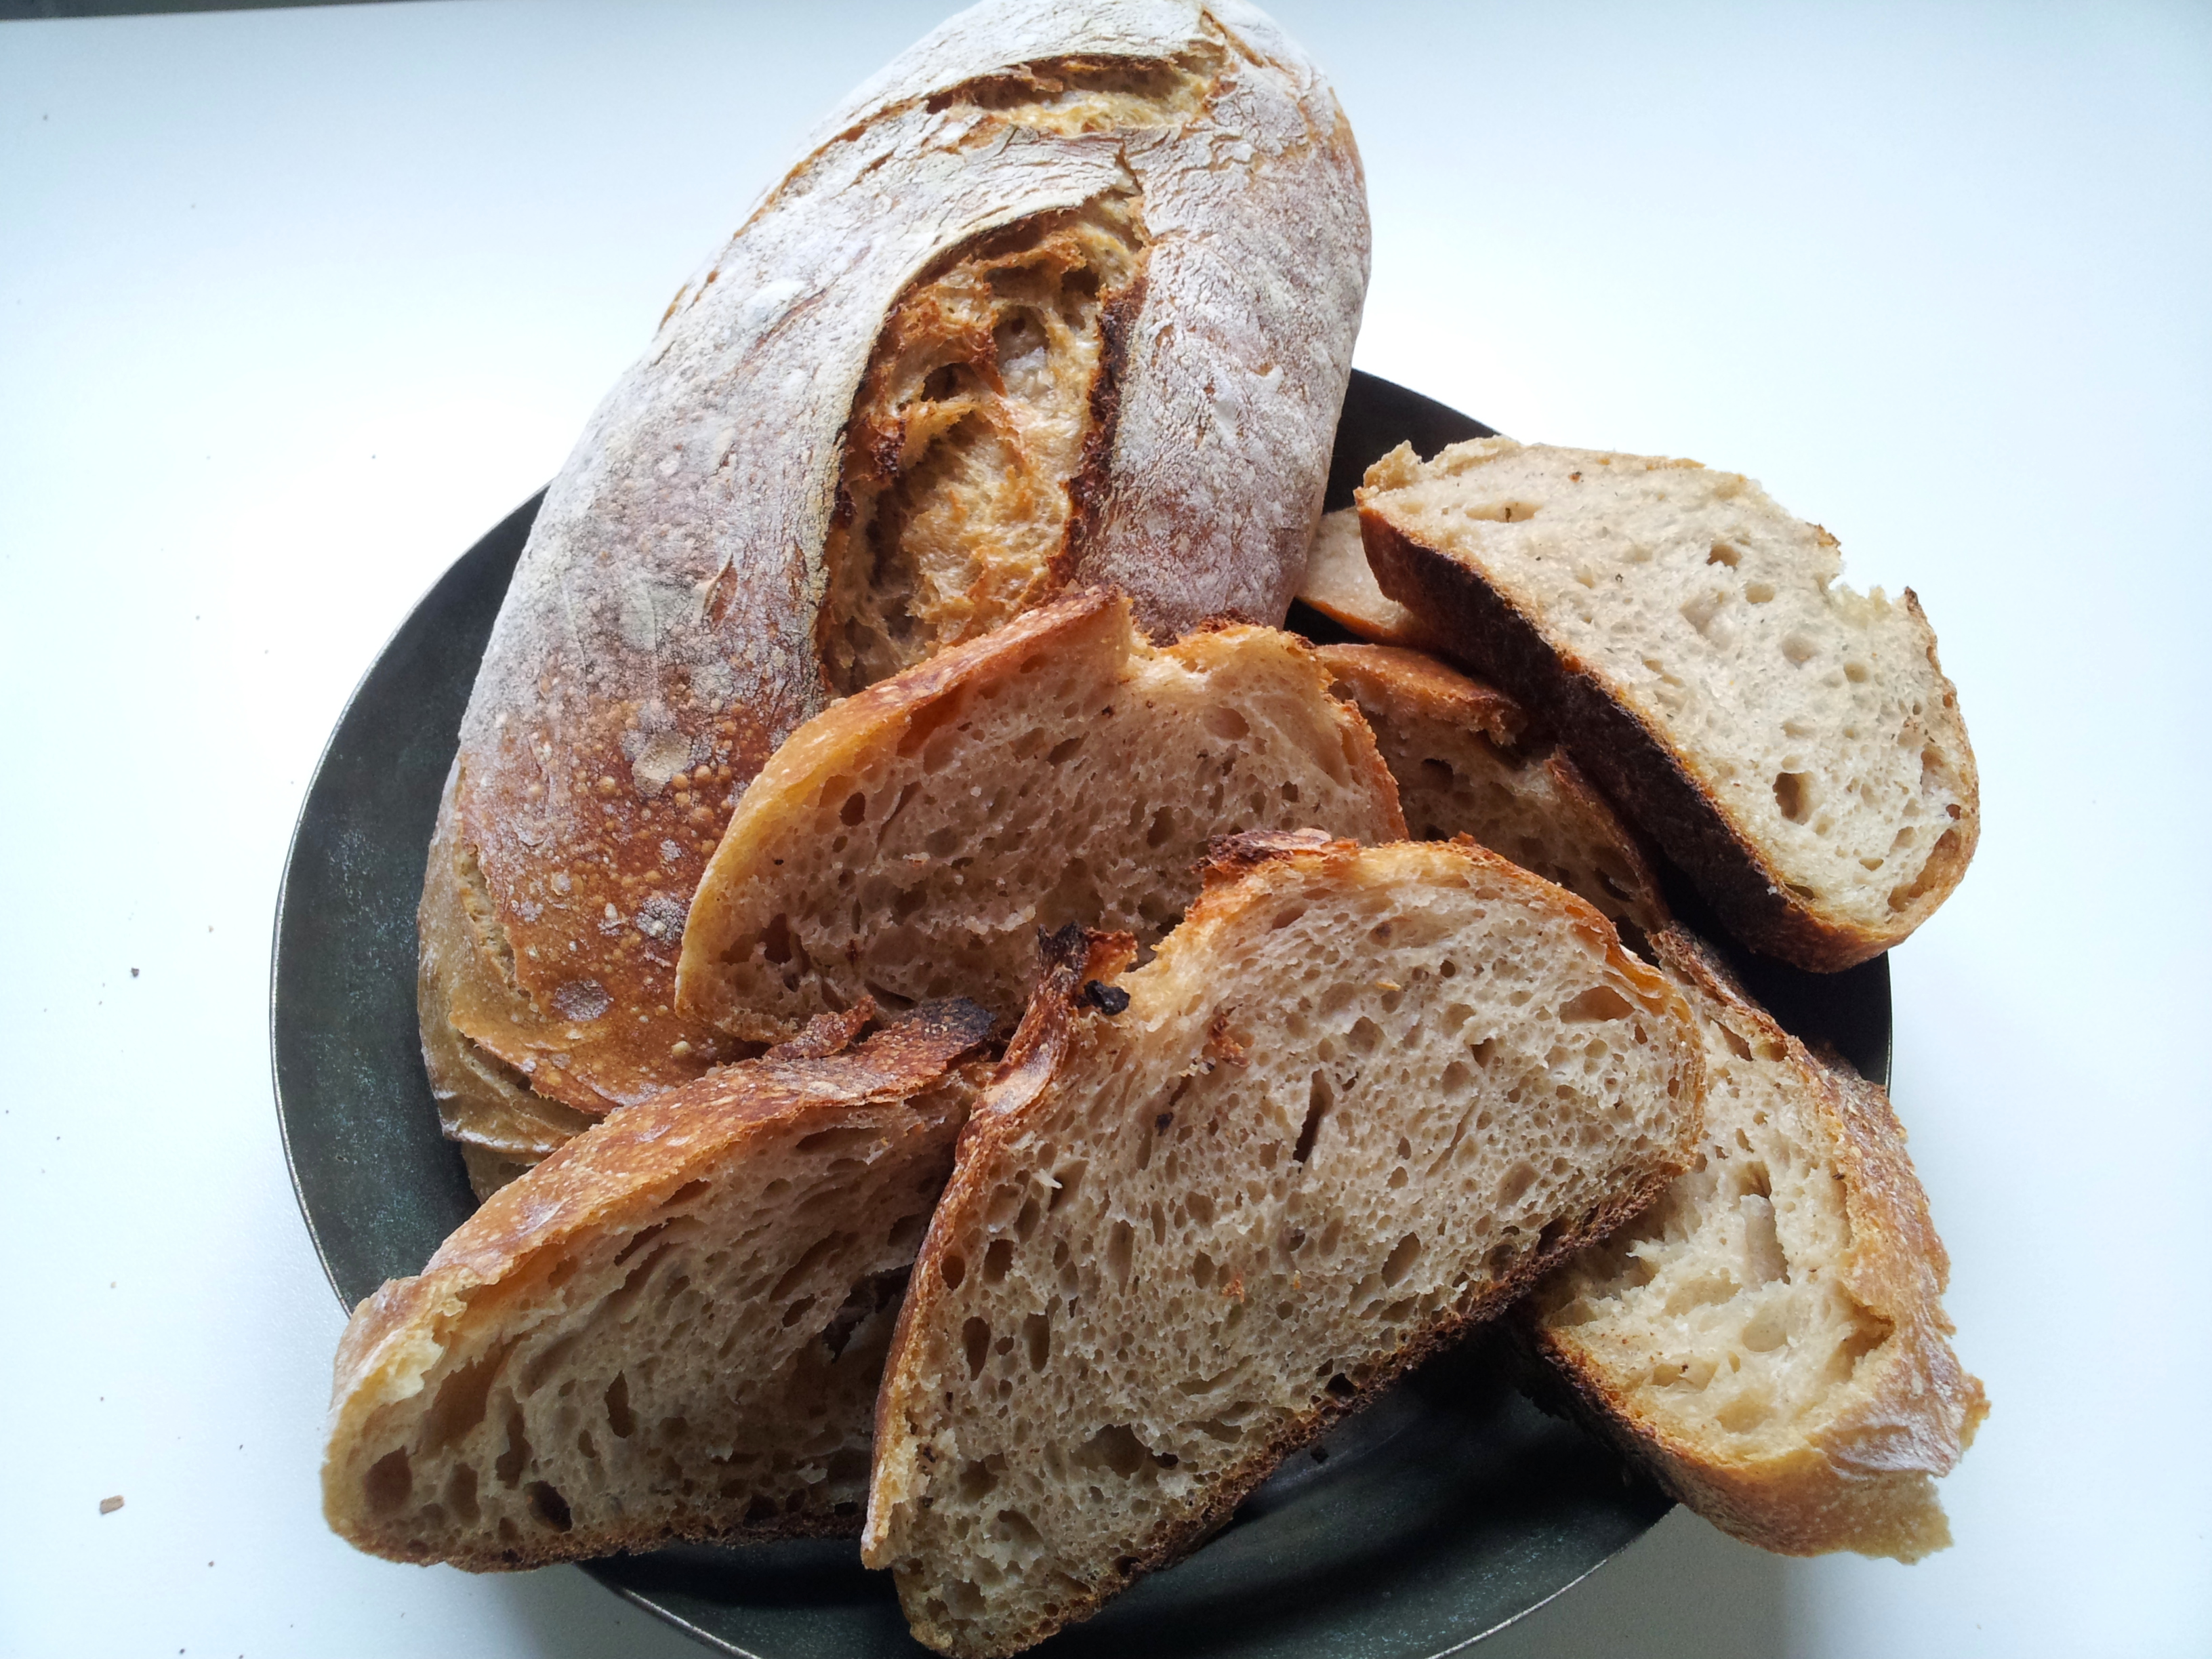
A most lardy tender crumb